Did you know that when a bee stings, it leaves its stinger embedded in the skin and continues to release venom for several minutes? For beekeepers, gardeners, and outdoor enthusiasts, knowing how to safely remove a bee stinger is an essential skill. Quick and proper action not only reduces pain but also prevents further venom release and infection.
This comprehensive guide explains how to identify, remove, and treat a bee sting safely. It also highlights preventive measures — such as using protective beekeeping equipment — that minimize the risk of stings in the first place.
🧤 Safety Precautions
Wearing Protective Clothing
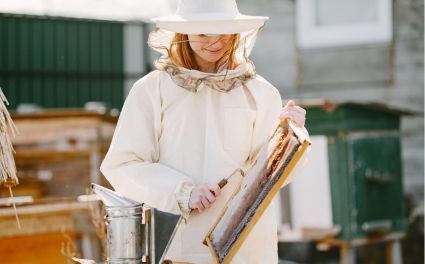
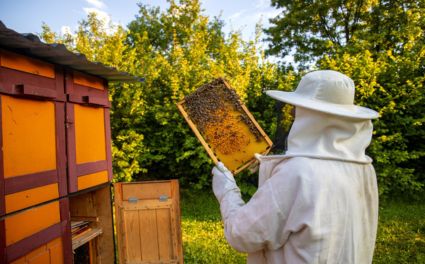
The best way to avoid bee stings is to wear proper protective clothing. Beekeepers should always use reliable gear like beekeeping suits, beekeeping jackets, beekeeping veils, and beekeeping gloves when handling hives.
Wearing beekeeping trousers and beekeeping ankle protection adds an extra layer of defense, preventing bees from crawling under clothing. For young learners exploring beekeeping, beekeeping kids suits ensure safety and comfort.
Brands such as Oz Armour are widely recognized for manufacturing durable, ventilated, and sting-proof protective wear trusted by professionals worldwide.
Assessing Bee Behavior
Before removing a bee stinger, assess the environment. Bees can become agitated due to loud noises, strong scents, or sudden movements. Always stay calm and move slowly. If working near hives, wait for the bees to settle before approaching to avoid provoking further stings.
Ensuring a Calm Environment
A quiet, stable environment minimizes the chances of additional stings. Avoid swatting at bees or running, as this may attract others through alarm pheromones. If a sting occurs, move calmly away from the hive or swarm before tending to the wound.

🔍 Identifying the Stinger
Recognizing the Bee Stinger
After being stung, a small, thin stinger—often with a dark venom sac attached—remains visible in the skin. This structure continues to pump venom for up to a few minutes after the sting, which is why immediate removal is crucial.
Honeybee vs. Wasp Stingers
It’s important to differentiate between bee and wasp stings. Honeybees have barbed stingers, which detach from the bee and remain lodged in the skin, leading to the bee’s death. Wasps, however, have smooth stingers that allow them to sting multiple times without leaving the stinger behind.
Barbed Structure and Venom Sac
The honeybee’s stinger features tiny barbs that anchor it into the skin. At the end of the stinger is a venom sac, which continues to contract even after the bee flies away. When removing the stinger, avoid pinching or squeezing the sac, as this can inject more venom into the wound.
Also read: Can Bees Sting Through A Bee Suit?
🧰 Proper Tools and Materials
Selecting the Right Tools
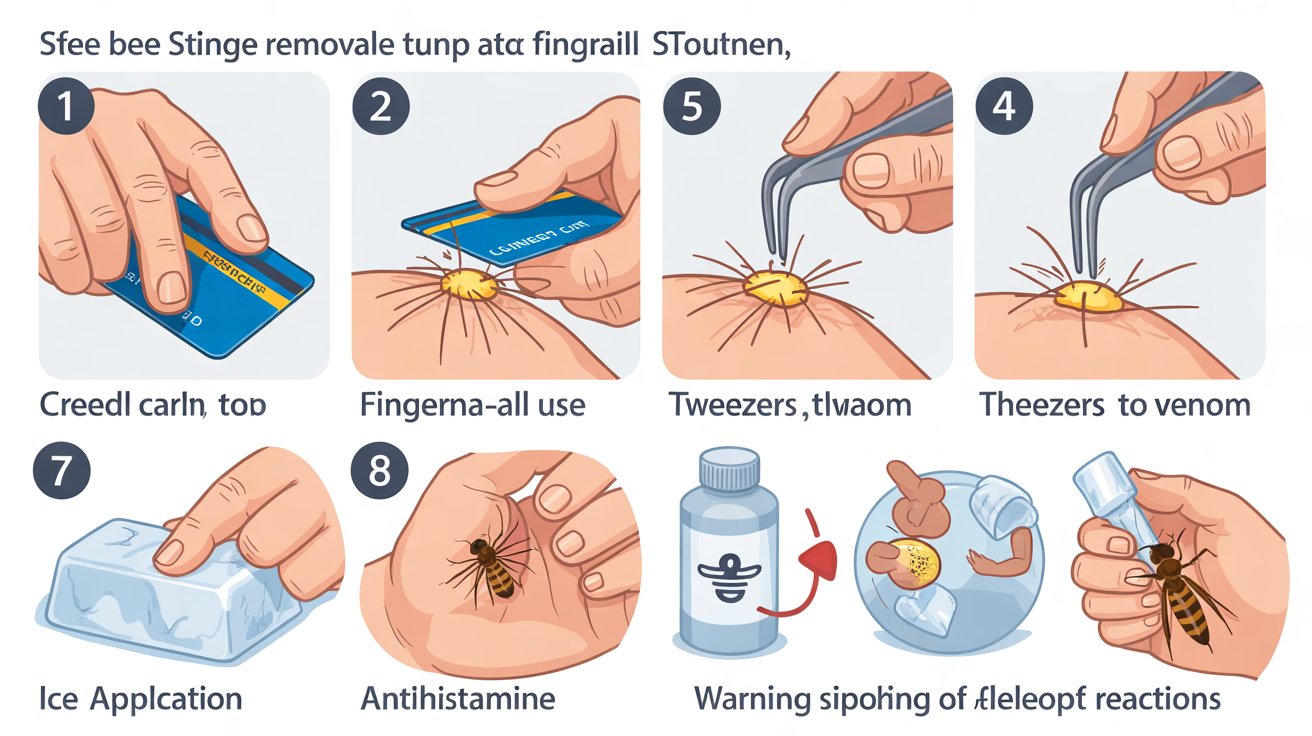
You don’t need specialized instruments to remove a stinger. Common tools include:
-
Tweezers for precise grip and control.
-
A credit card or fingernail for gentle scraping.
The goal is to lift or scrape the stinger out without applying pressure to the venom sac.
Ensuring Clean, Sterilized Equipment
Always sterilize tweezers or cards before use to prevent infection. You can wipe them with rubbing alcohol or an antiseptic solution. Clean tools help reduce bacterial contamination at the sting site.
Keeping First-Aid Supplies Handy
Beekeepers should maintain a basic first-aid kit near their hives. Include antiseptic wipes, adhesive bandages, cold compress packs, and antihistamines. Reliable Beekeeping Equipments—like smokers and hive tools—should also be part of the toolkit to reduce the likelihood of agitated bee behavior during hive inspections.
🐝 Step-by-Step Stinger Removal Procedure
Step 1: Scrape Gently
Once you spot the stinger, use a clean fingernail, tweezers, or card edge to gently scrape it out at a sideways angle. Scraping, rather than pinching, helps remove the stinger without squeezing the venom sac.
Step 2: Avoid Pressure
Do not use your fingers to pull the stinger straight out, as it may inject more venom. Avoid pinching or pressing on the surrounding skin.
Step 3: Maintain Steady Hands
If the stinger is deeply embedded, stay patient and calm. Rushing may cause further irritation. After removal, wash the area with mild soap and water or use an antiseptic wipe to disinfect the wound.
Step 4: Clean and Observe
After cleaning, observe the sting site for redness, swelling, or signs of allergic reaction. Most mild stings subside within a few hours.
Also read: How Do Beehives Work?
💧 Aftercare and First Aid
Cleaning the Area
After removing the stinger, thoroughly clean the area with soap and water to eliminate surface bacteria. This reduces the risk of infection and helps soothe the skin.
Applying a Cold Compress
A cold compress or ice pack wrapped in a cloth can help reduce swelling, itching, and pain. Apply for 10 minutes at a time, with breaks in between.
Pain Relief and Antihistamines
For discomfort, over-the-counter pain relievers like ibuprofen or acetaminophen work effectively. If mild itching or swelling occurs, antihistamines such as diphenhydramine (Benadryl) can help.
Natural Remedies
Some people find relief by applying honey, aloe vera gel, or a paste of baking soda and water to the affected area. These natural treatments help neutralize venom acidity and soothe irritation.
⚠️ Monitoring for Allergic Reactions
Common Symptoms
Mild symptoms of a bee sting include redness, itching, and localized swelling. These typically subside within a day.
However, severe allergic reactions may cause:
-
Difficulty breathing
-
Swelling of the face or throat
-
Dizziness or fainting
-
Rapid heartbeat
When to Seek Medical Help
If you experience any of these symptoms, seek emergency medical assistance immediately. In severe cases, an EpiPen (epinephrine auto-injector) should be administered as directed by a healthcare provider.
Carrying an Auto-Injector
People with known allergies should always keep an EpiPen within reach when working near bees. Proper training on when and how to use it can save lives.
🧵 Preventive Measures for Beekeepers
Professional and hobbyist beekeepers can greatly reduce sting incidents by using high-quality protective gear and maintaining calm hive management practices.
-
Beekeeping Suits offer full-body protection against stings.
-
Beekeeping Gloves keep hands safe without limiting dexterity.
-
Beekeeping Veils protect the face and neck, which are sensitive sting areas.
-
Beekeeping Jackets and trousers provide flexible coverage for short inspections.
Globally recognized brands like Oz Armour have designed ventilated, multi-layer suits and accessories that ensure both comfort and maximum protection during hive work.

🌼 Final Thoughts
Knowing how to safely remove a bee stinger is an essential life skill for anyone who spends time outdoors, especially for those involved in beekeeping. Quick action, proper tools, and calm handling can prevent further discomfort and reduce allergic risks.
For professional and hobbyist beekeepers alike, preventing stings through protective wear is just as important as knowing how to treat them. Reliable beekeeping equipment, from suits and gloves to veils and ankle protection, allows for safe, stress-free hive inspections.
For more educational resources, tips, and in-depth guides, explore read more blogs about beekeeping and discover expert insights on hive care, safety, and sustainable bee management.
By combining knowledge, preparation, and the right protective gear from trusted sources like Oz Armour, both bees and beekeepers can coexist safely — ensuring a productive and harmonious relationship between nature and humanity.

